
Git/Github Clone Private Repository on Ubuntu Server 24.04
Dev
. 1 min read
GitHub is a free platform that provides repository hosting and version control, widely used by web developers to manage and share code. We will guide you to install Git on Ubuntu 24.04, adding and cloning a repository from GitHub to your Ubuntu VPS server.
Preflight
- Log in as Root: Access your Ubuntu 24.04 server using the root user.
Step 1: Git Installation
The first step is to install Git on your Ubuntu server. Open a terminal and execute the following command:
sudo apt update && sudo apt install git -y
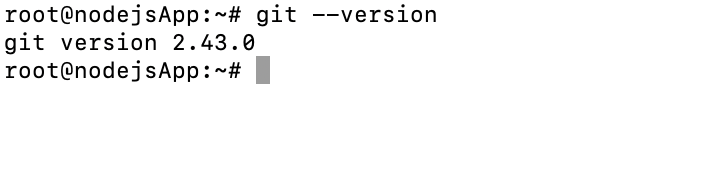
This command will install the latest version of Git on your server. To verify that Git has been installed correctly, run the following command:
git --version
Step 2: Set up a GitHub Account
If you haven't already, create a GitHub account at GitHub.com. It's free! Once you have an account, you'll be able to create a repository (repo) and add your files. To create a new repository, follow these steps:
- Log In: Sign in to your GitHub account.
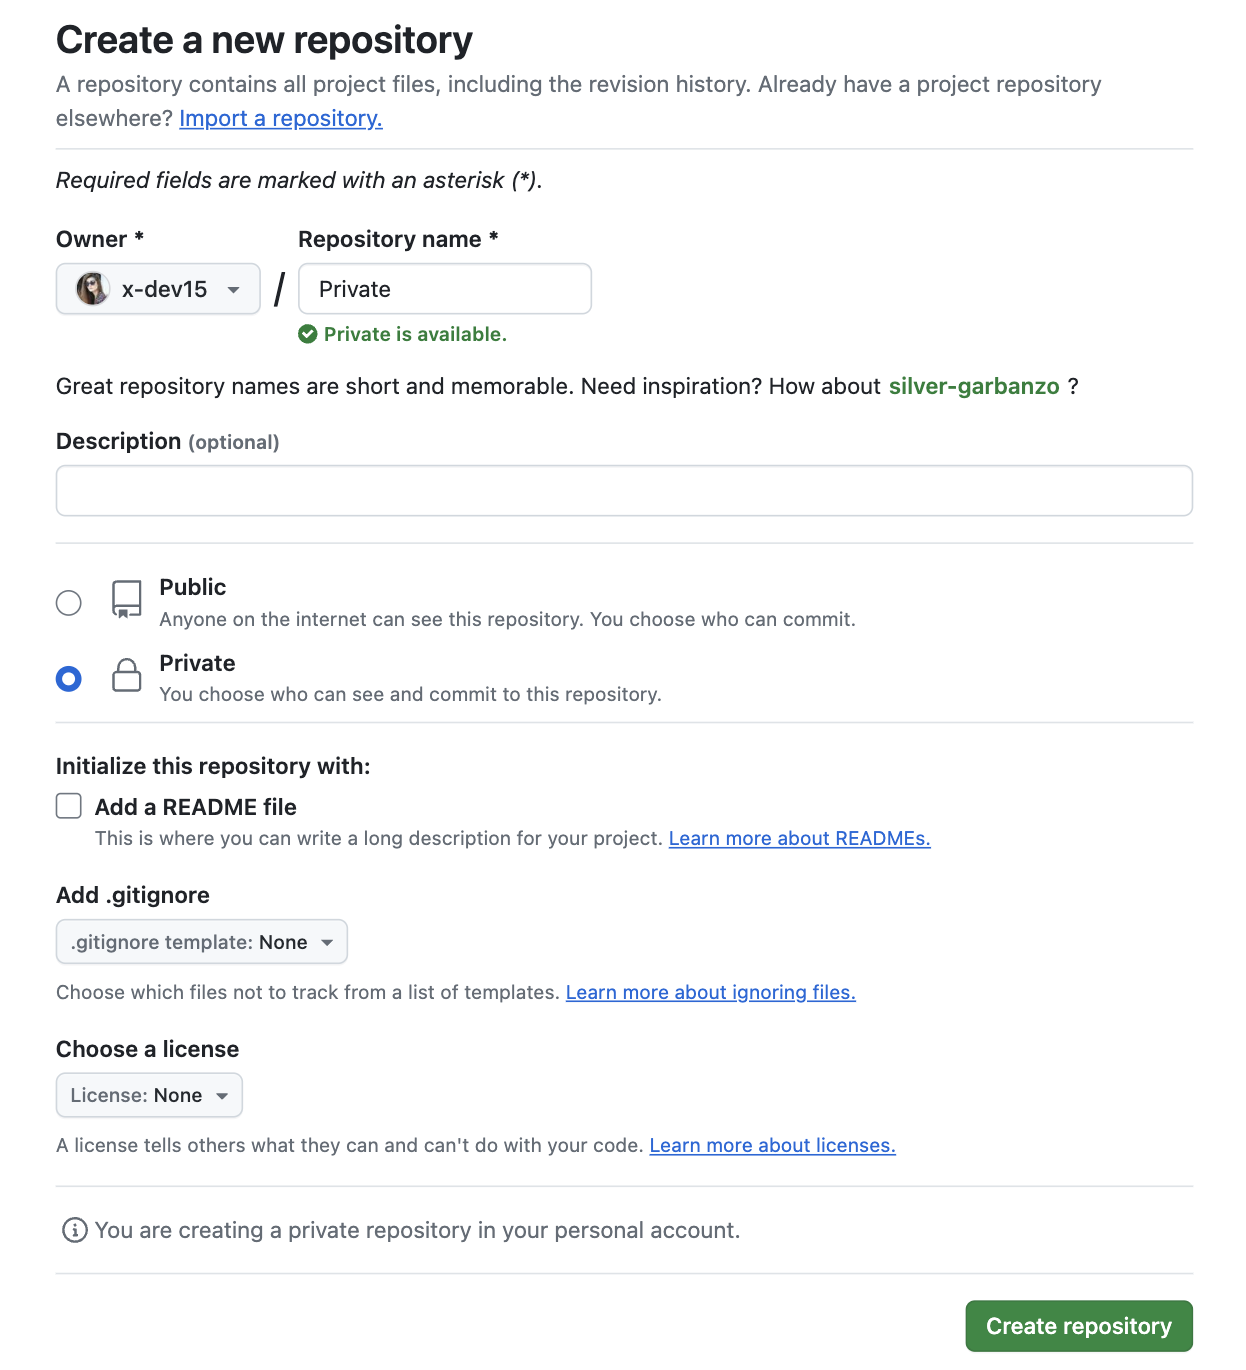
- Create a Repository: Click on the "Create a repository" button (or "New repository").
- Add Details: You will be directed to a page where you can fill in the details for your new repository, such as the name, description, and visibility settings.
Step 2: Clone Private Repository from Github
Install GitHub CLI on your Ubuntu server and use it to clone a repository
1. Update Your Package List
sudo apt update
2. Install GitHub CLI
You have two main options for installing GitHub CLI: using snap or apt. Choose the method you prefer.
sudo snap install gh
sudo apt install gh
3. Verify Installation
To check if GitHub CLI is installed correctly, run:
gh --version
You should see output indicating the installed version of GitHub CLI.
4. Authenticate GitHub CLI
Authenticate your GitHub account with the CLI. This step is necessary to interact with your repositories:
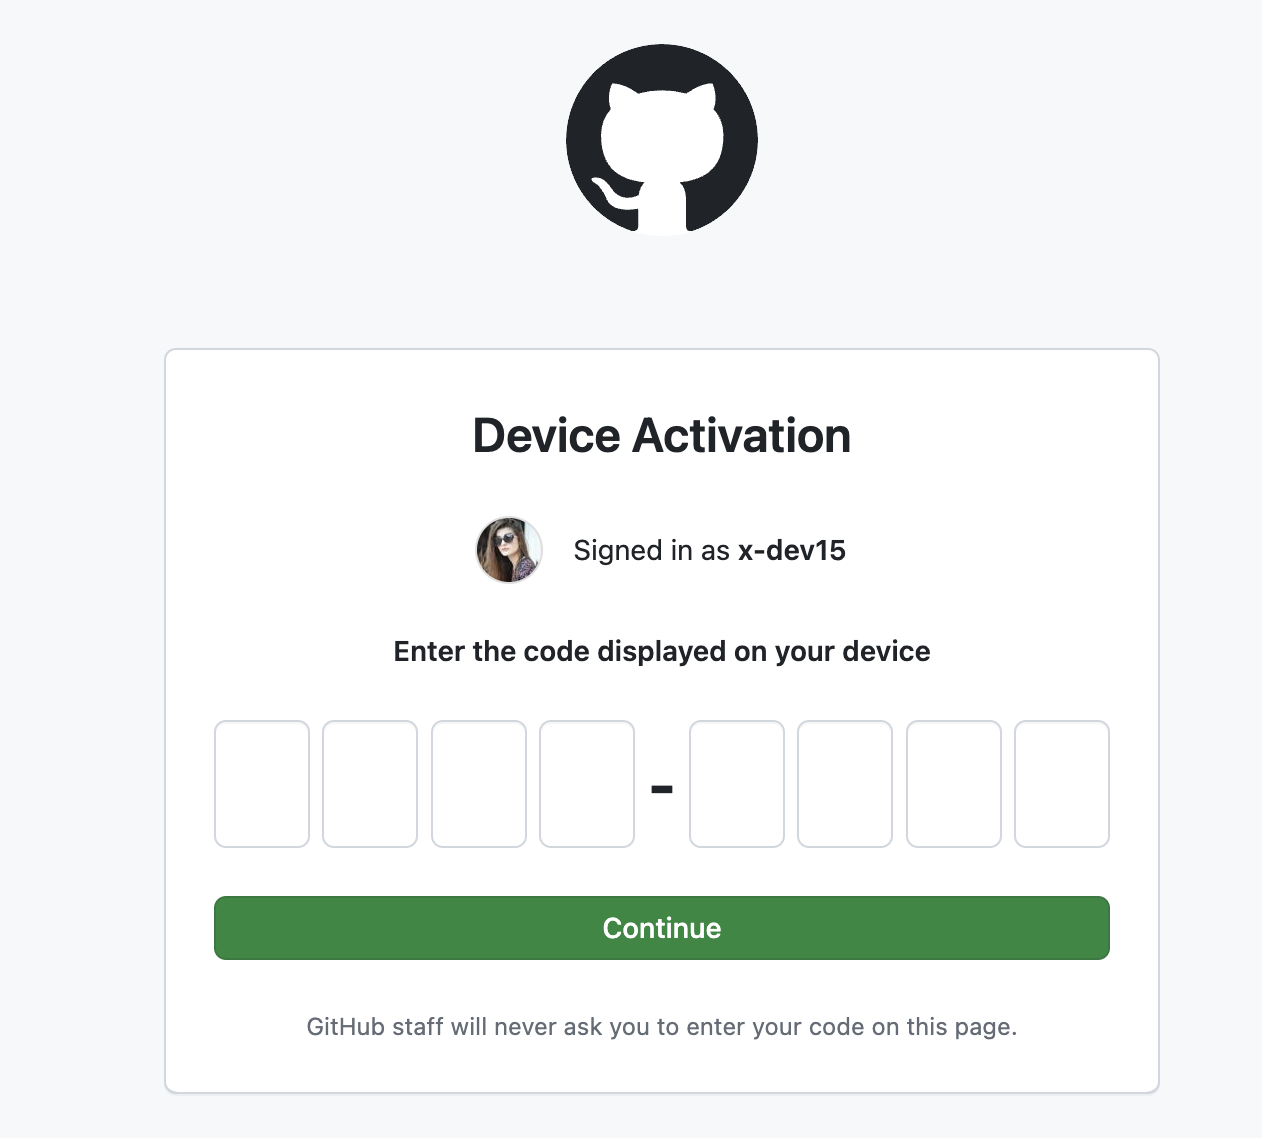
gh auth login
Follow the prompts to complete the authentication process. In this process you will get one-time code. First copy your one-time code and paste it in https://github.com/login/device ( manual )
5. Clone Your Repository
Now, you can clone your repository using the gh command:
gh repo clone x-dev15/private
This command will clone the private repository from the x-dev15 GitHub account into your current directory.
More Stories from
Window Server 2025 Contabo VPS Install Guide
Window server in contabo is very costly but you can deploy your license key with custom image.

Setting up SSH keys to a Ubuntu Server with Mac
Generating SSH keys on a Mac for use with an Ubuntu server is a straightforward process. Here’s a step-by-step guide: Generate the SSH Key Pair

Deploy Boxcoin SAAS on VPS Ubuntu Nginx Server
Looking for the fastest way to run Boxcoin Crypto SAAS on Ubuntu server? We cover the full installation process on Self-Managed VPS of webdock, hetzner, aws
Set Up Daily MySQL Backups to DigitalOcean Spaces (S3-Compatible)
Step-by-Step Guide to implement Automated MySQL Database Backup to DigitalOcean Spaces or s3 compatible buckets (With Retention & Logs) on Ubuntu server.

Raspberry Pi NAS: Install OpenMediaVault + CasaOS (Step-by-Step Guide)
Turn your Raspberry Pi into a powerful NAS by installing OMV for RAID storage and CasaOS for a simple UI—build a secure, user-friendly home cloud.


